Shooting Star VFX
Software: Unreal (Niagara, Material graph)
Emitter count: 11
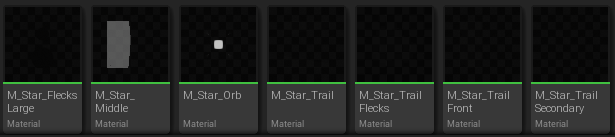
Material count: 7
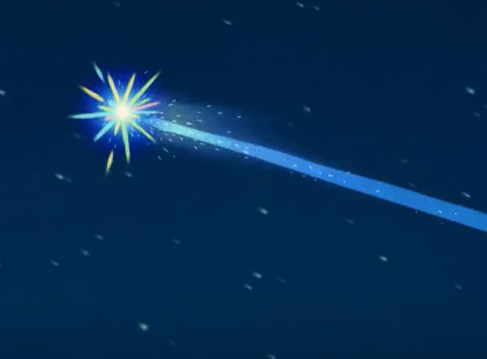
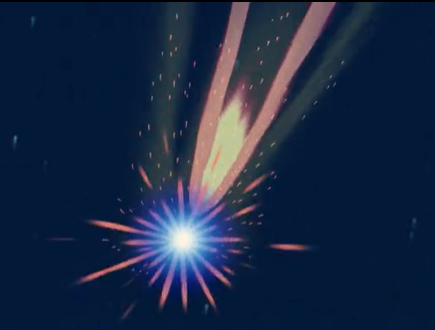
I’ve wanted to make this for a while now! Inspired by shooting stars seen in anime, my goal was to create a shooting star Niagara System that could be placed in a scene and has an adjustable spline.
The process
I broke down the process of this project into several parts:
- Reference collection + project breakdown sketch
- Niagara Emitter assembly
- Material creation
- Spline functionality + Blueprint actor creation
- Skybox creation
- Optimization
Part 1: Reference collection + project breakdown sketch
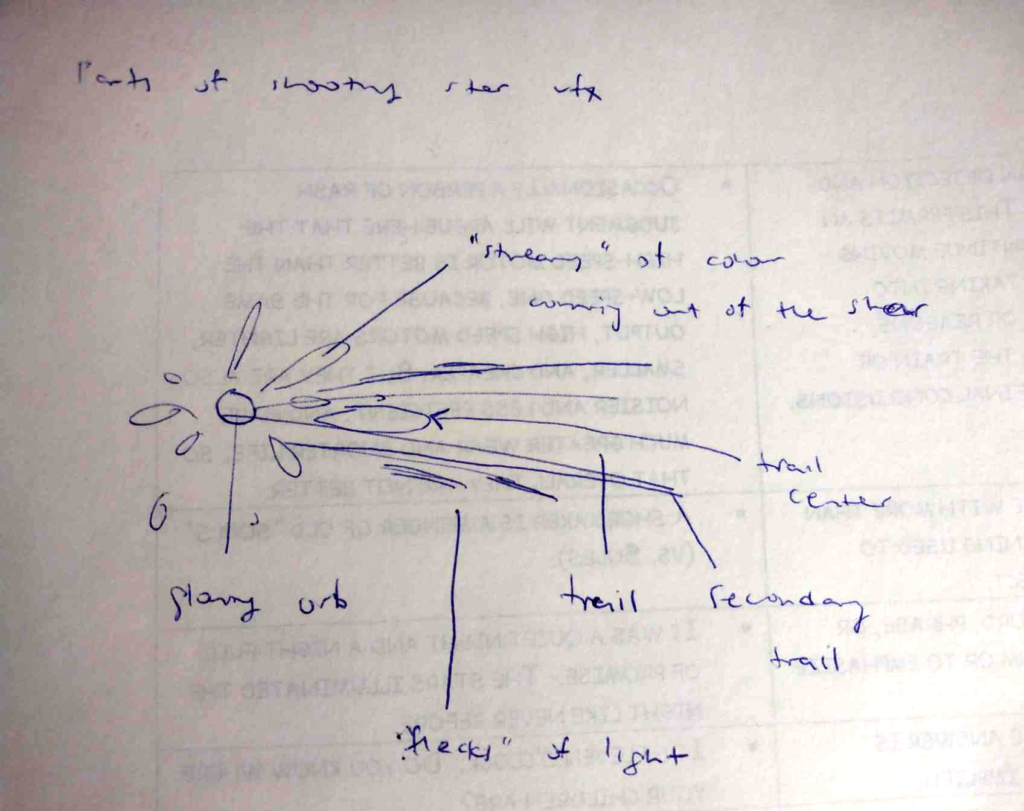
As mentioned above, the visuals of this Niagara System vfx was inspired by anime. In this case, I was really inspired by the star scene in Howl’s Moving Castle. I was definitely aiming for a look that was more stylistic with bold colours.
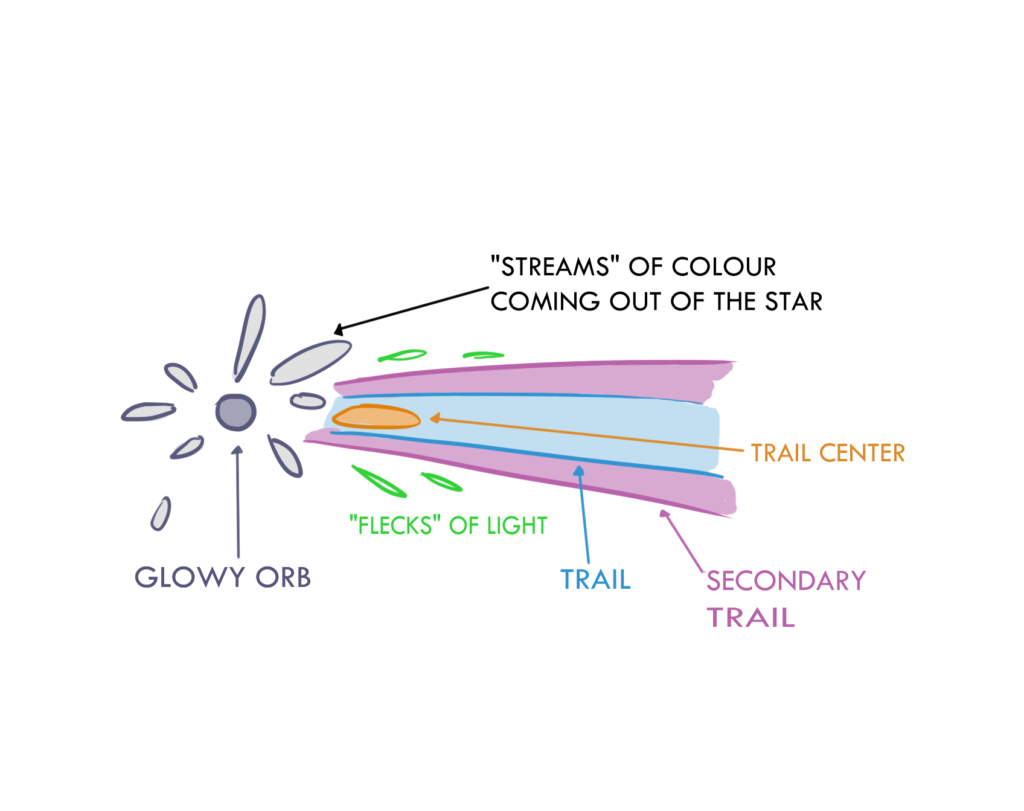
After collecting some more reference material, I drew a sketch that broke down the vfx into its necessary emitters and required materials. This was just an overview of the components I thought were necessary to create, so I was well aware that I may add more parts based on how it looked in the engine.
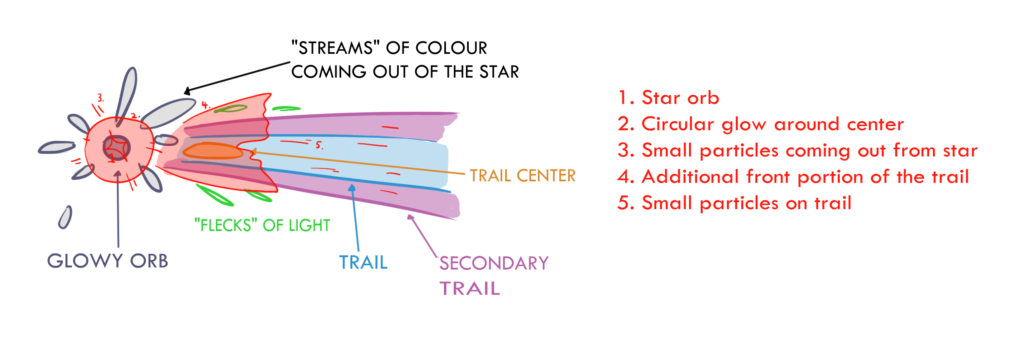
Below is the breakdown of the particle effect by the end of the project. The red portions are the parts that were added on during the creation process.
Part 2: Niagara emitter assembly
Before working on the materials, I assembled all the emitters in the Niagara System and changed the values of each respective one to gets me 50% of the way there. Materials are powerful and can do a lot but things wouldn’t look right if the particle behaviour looks off.
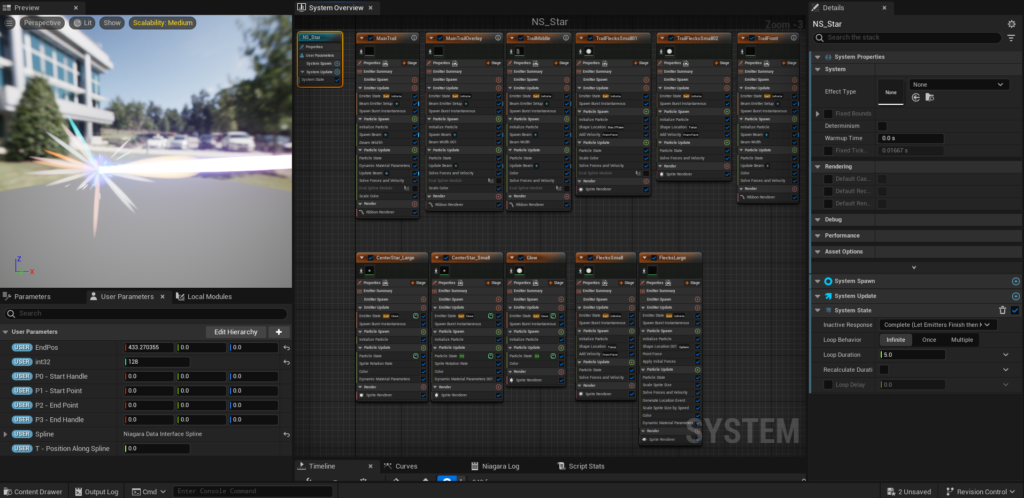
In terms of the materials, I tried my best to create ones that could be reusable in as many emitters as possible. This means exposing certain values to be adjusted externally in the emitter itself using the DynamicMaterialParameters node. In total, there are 11 emitters in this system — 6 emitters for trail and 5 for the main orb.
Part 3: Material creation
I created a total of 7 materials for the system. I’ll briefly go over two of the more notable ones.
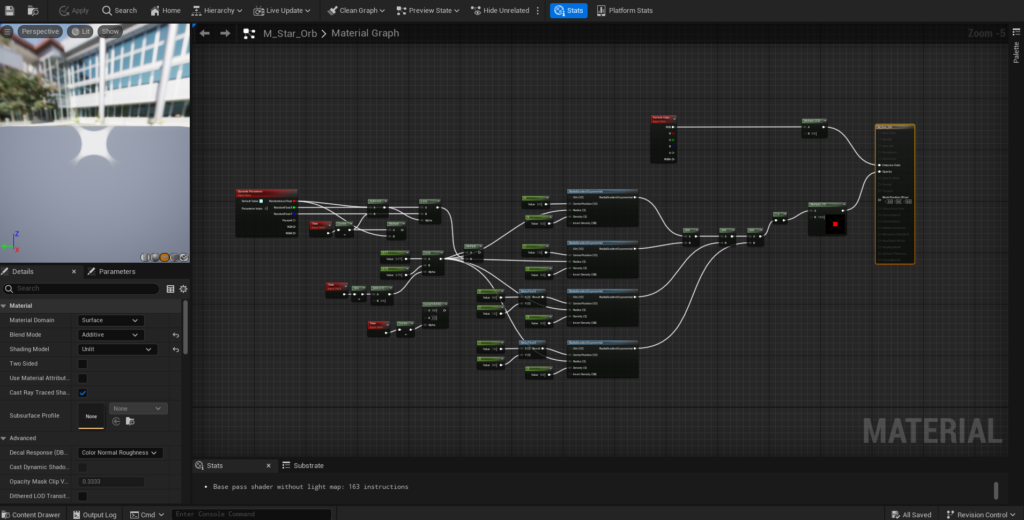
M_Star_Orb
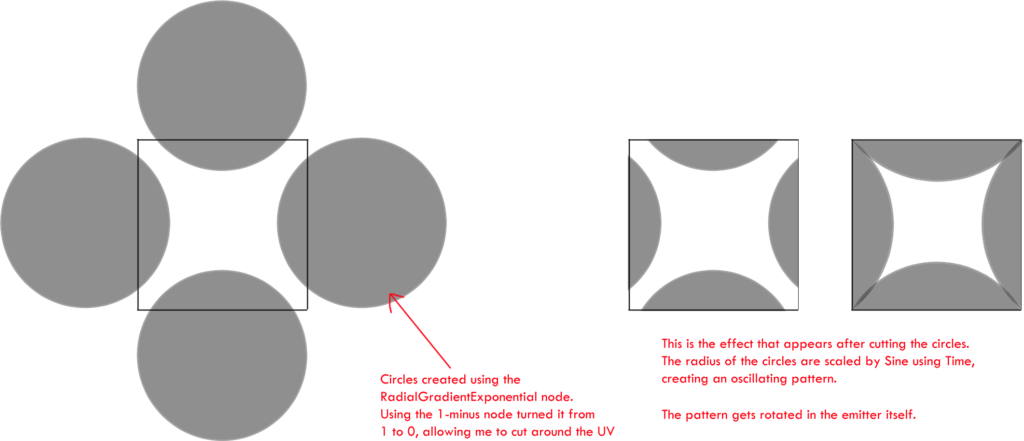
This was the material responsible for creating the start effect. It’s quite simple after breaking it down — I used RadialGradientExponential nodes to “cut” the shape of the star out, then plugged the Time node to Sine to linear interpolate the radius to create the animated effect.
Below is a simple diagram to show my thought process behind using this method:
M_Star_Flecks_Large
An effect I wanted to create was a sense that the flecks coming out from the center of the orb. The emitter itself brought it about 80% there — particles were growing from the center of the orb and disappearing as expected. I knew this was something that had to be done through the material graph as I was manipulating how the particle’s opacity behaved.
Below is a simple diagram to show what was happening with the particle without this material, and after:
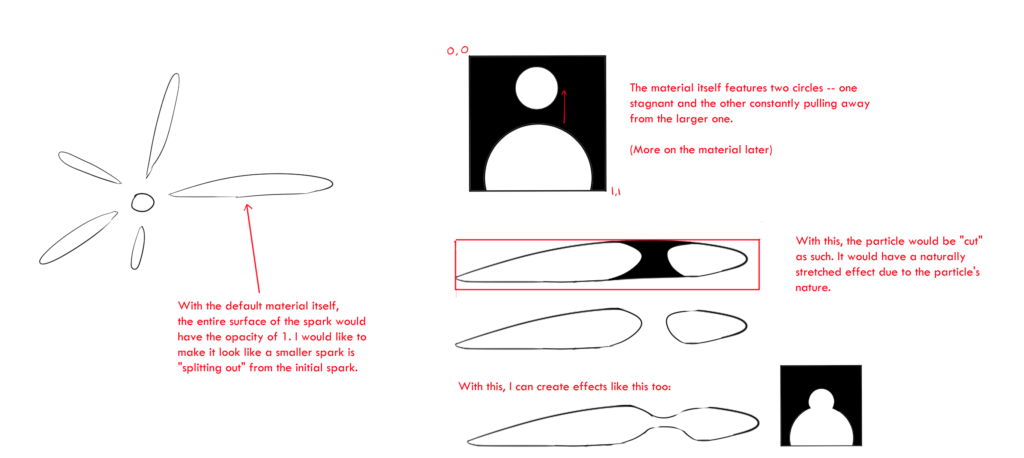
As for the material itself:

Essentially, I created two circles using the RadialGradientExponential node, and panned the smaller one upwards in a repetitive motion to appear like it’s “pulling away” from the large one. Together with the emitter, it would create the effect I’m going for.
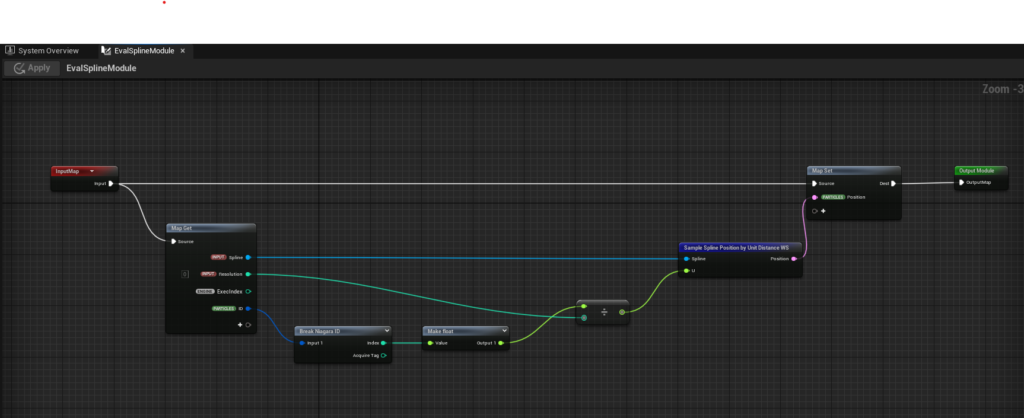
Part 4: Spline functionality + Blueprint actor creation
To implement spline functionality, I first created a scratch pad module in the Niagara system for the spline’s functionality. It’s quite straightforward: to have the trail be controlled by a spline, each particle of the trail would need to follow the spline’s position at that point. Essentially, I sampled each particle’s ID and used the Sample Spline Position by Unit Distance WS node to output the particle’s position. This position would tell the ribbon particles were to be located.
Then, I created a Blueprint actor for the star that included a Niagara component and a spline component.
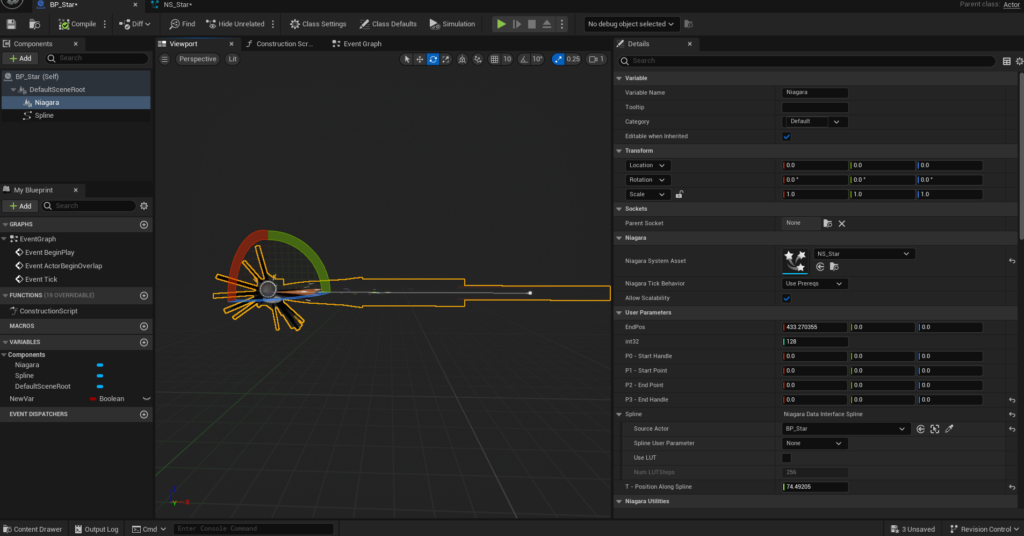
Hooking all this up meant I could test the Niagara System in the level by simply dragging out the actor.
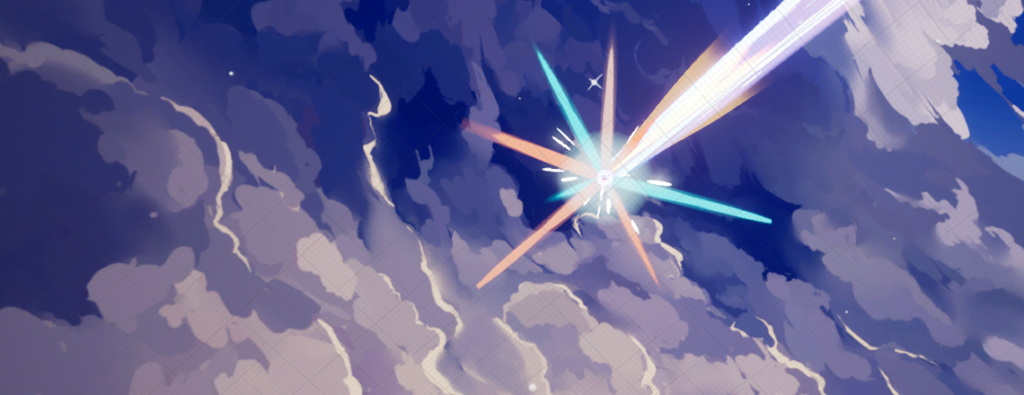
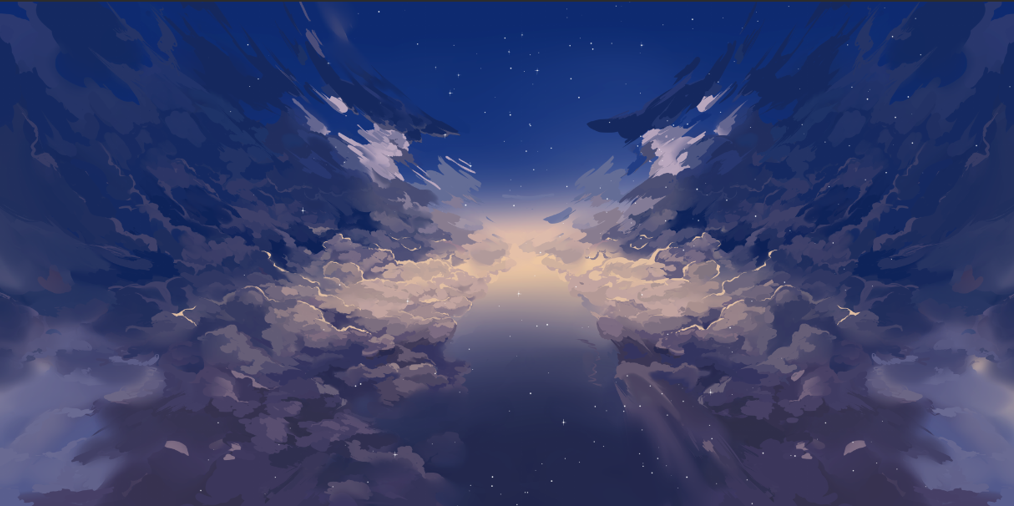
Part 5: Skybox creation
This was the last part of the process. I wanted to place the particle system in a sky with clouds and stars, so I quickly painted a skybox texture to hook up to a simple skybox material to be connected to the SkyLight.
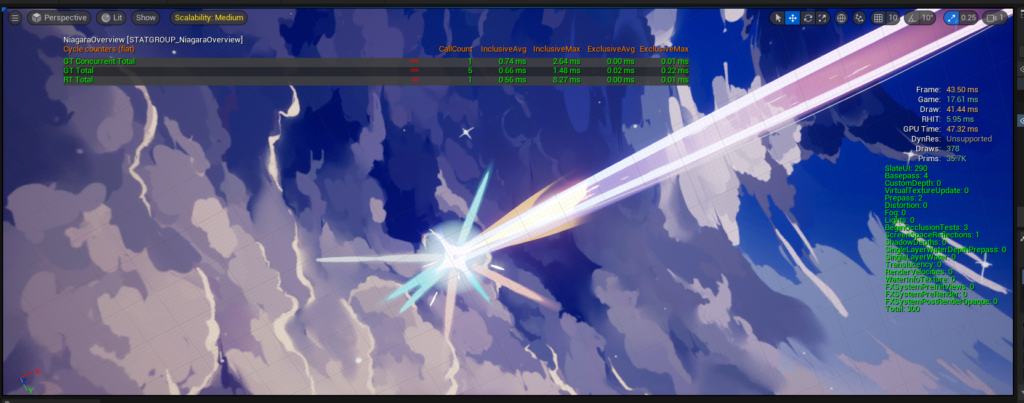
Part 6: Optimization
Truth be told, optimization wasn’t necessarily a “step” but rather something I was thoughtful of throughout the process of this project. Some things I did to improve performance are as follows:
- Make custom surface materials unlit and additive
- When possible, make intended effects in the material graph using math instead of importing textures
- When textures are imported, adjust the texture dimensions to be appropriate for the use case
- Limit the amount of particles emitted when possible